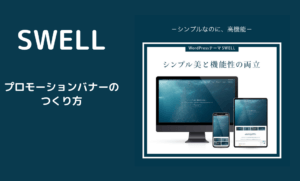

SWELLのプロモーションバナーって、どうやってつくるの?
公式サイトと同じデザインにしたいなぁ。

このような疑問にお答えします。
- プロモーションバナーのつくり方
- 画像の色の調べ方
このような内容をお伝えしていきます。
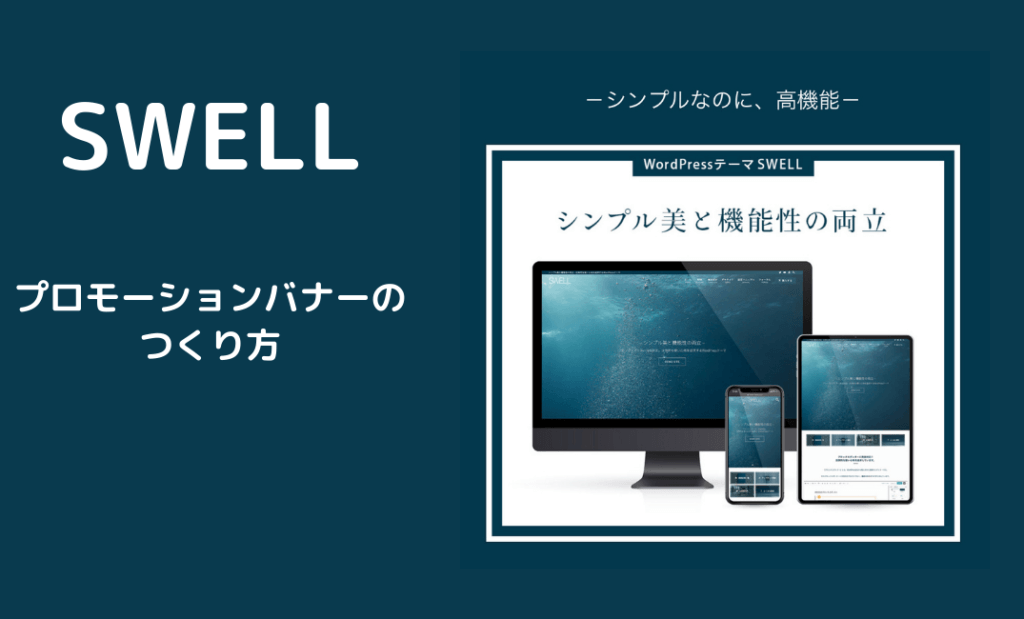
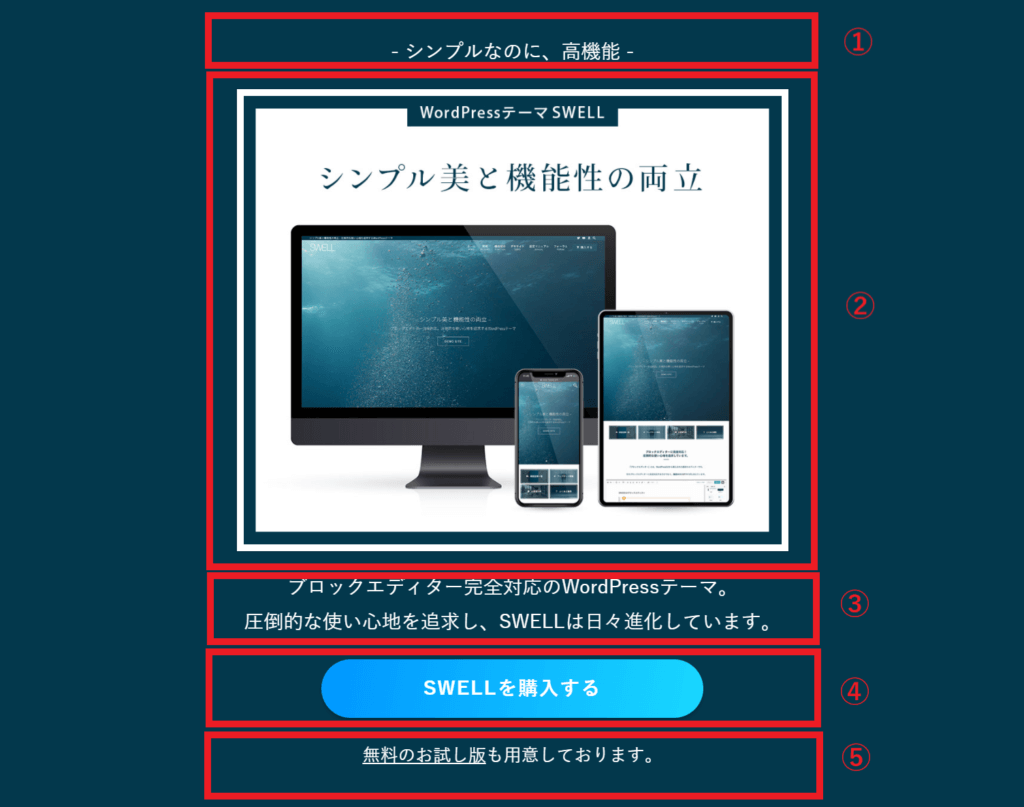
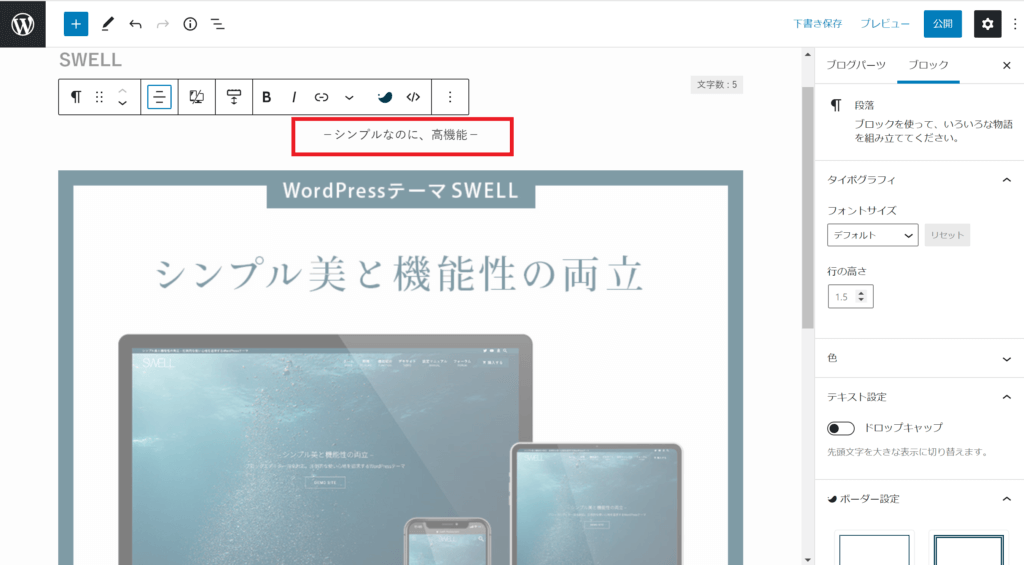
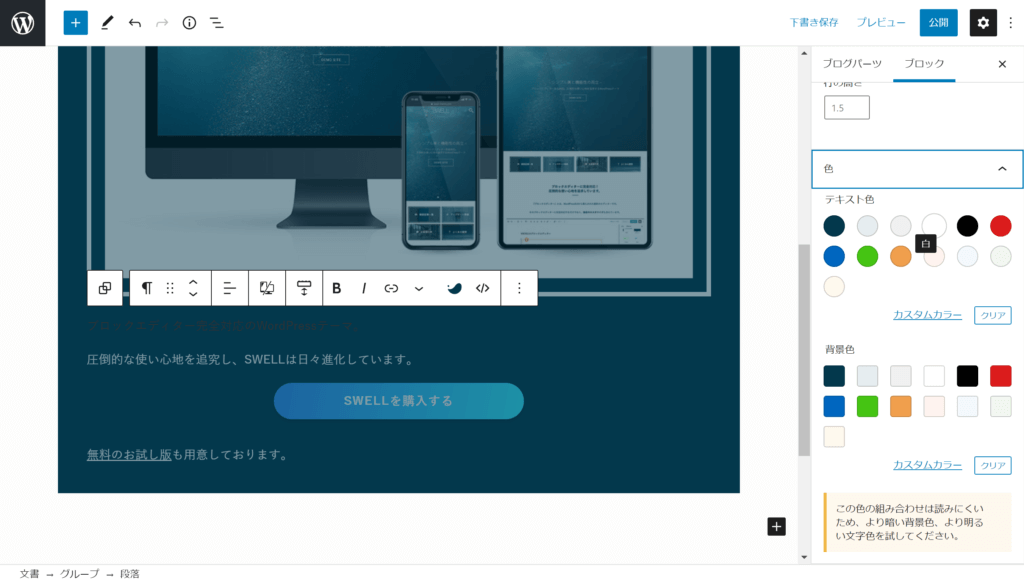
-シンプルなのに、高機能-
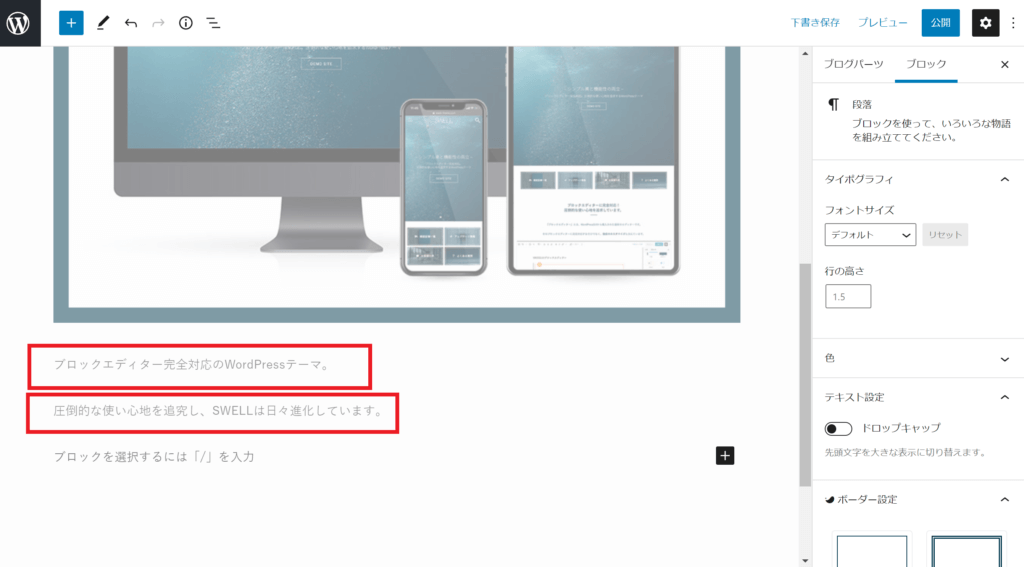
ブロックエディター完全対応のWordPressテーマ。
圧倒的な使い心地を追究し、SWELLは日々進化しています。
無料のお試し版も用意しております。
SWELLのプロモーションバナーって、シンプルでおしゃれ、そしてカッコいいよね!
公式サイトと同じプロモーションバナーをずっとつくりたいと思っていました・・・
SWELLを使い慣れてきて、ようやくつくり方がわかったので紹介しますね。
SWELLプロモーションバナーのつくり方
それでは、プロモーションバナーのつくり方を説明していきます。
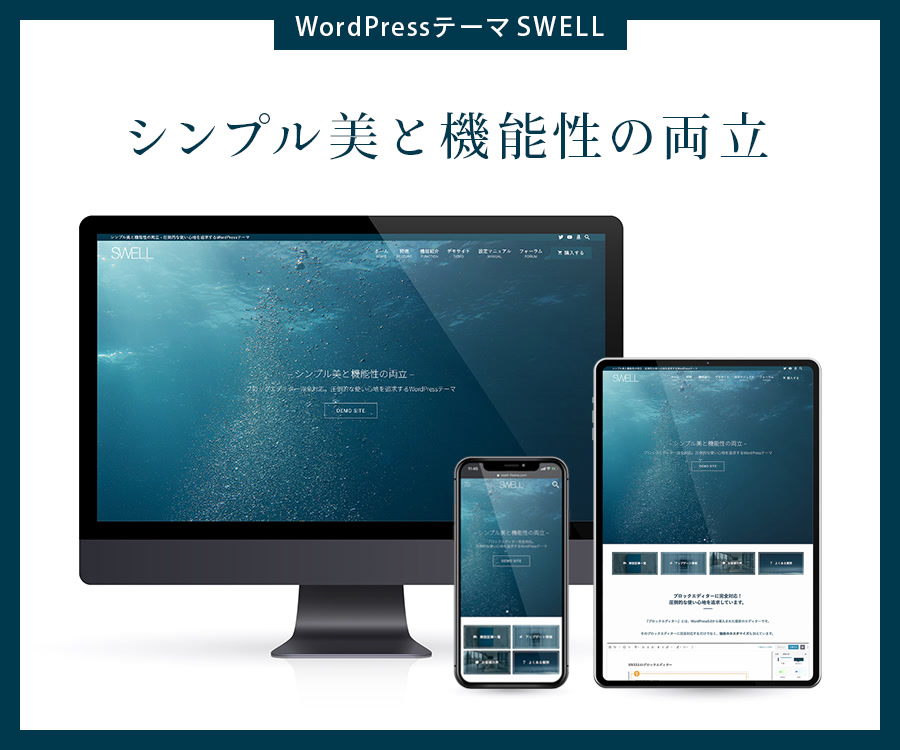
プロモーションバナーは、次のような5つのブロックに分かれています。
ステップ1~6で、つくり方の流れを説明していきますね。
SWELLプロモーションバナー|つくり方の流れ
公式サイトから画像を取得
公式サイトを参考に、文章をブロック毎に入力
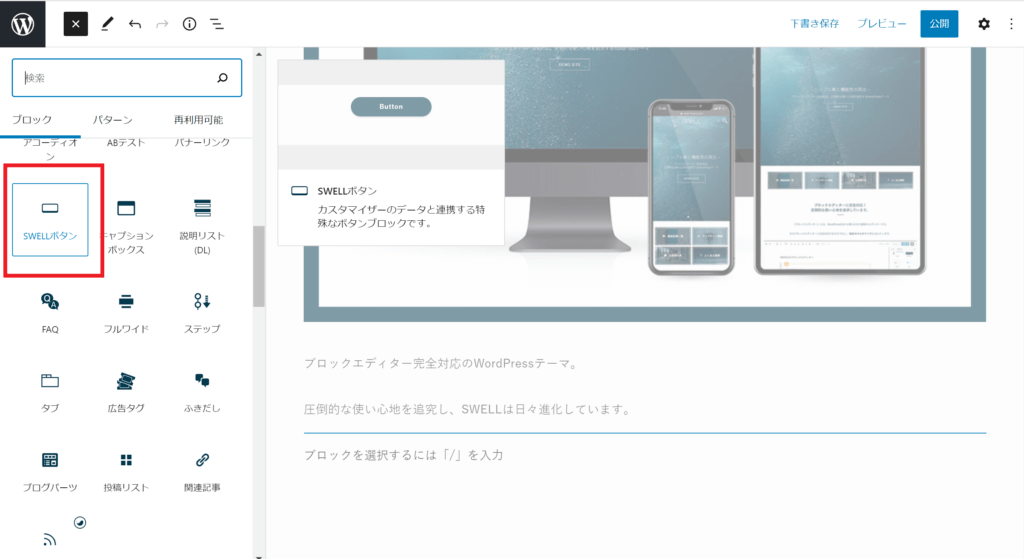
光るリンクボタンを選択
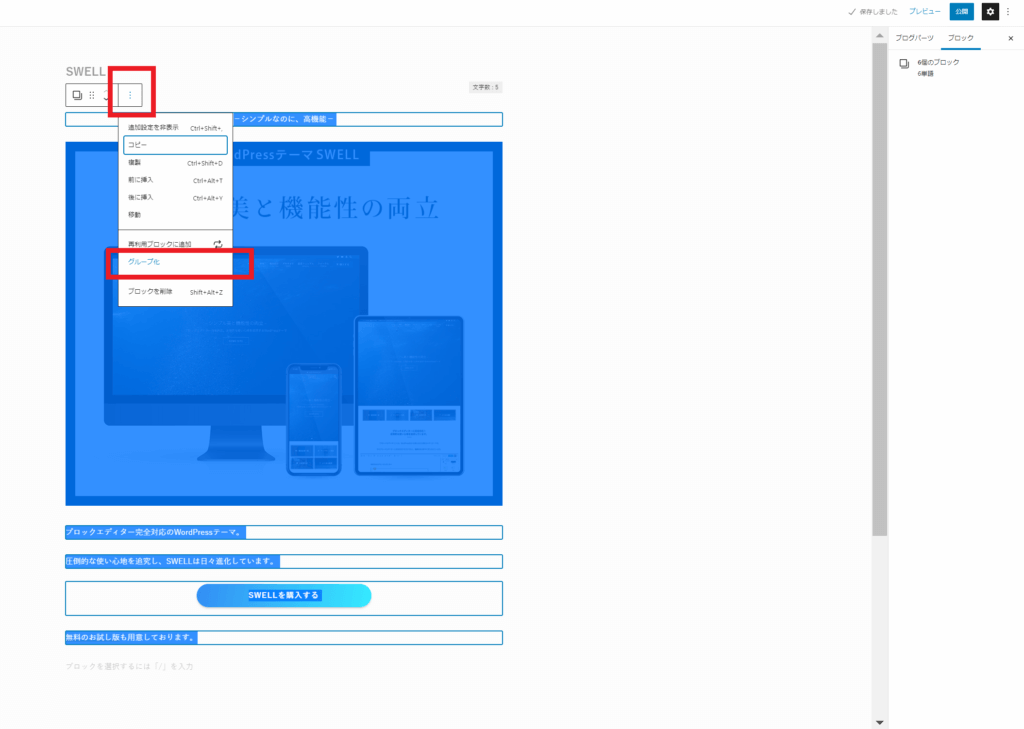
それぞれのブロックをまとめてグループ化する
公式サイトを参考に色を選択
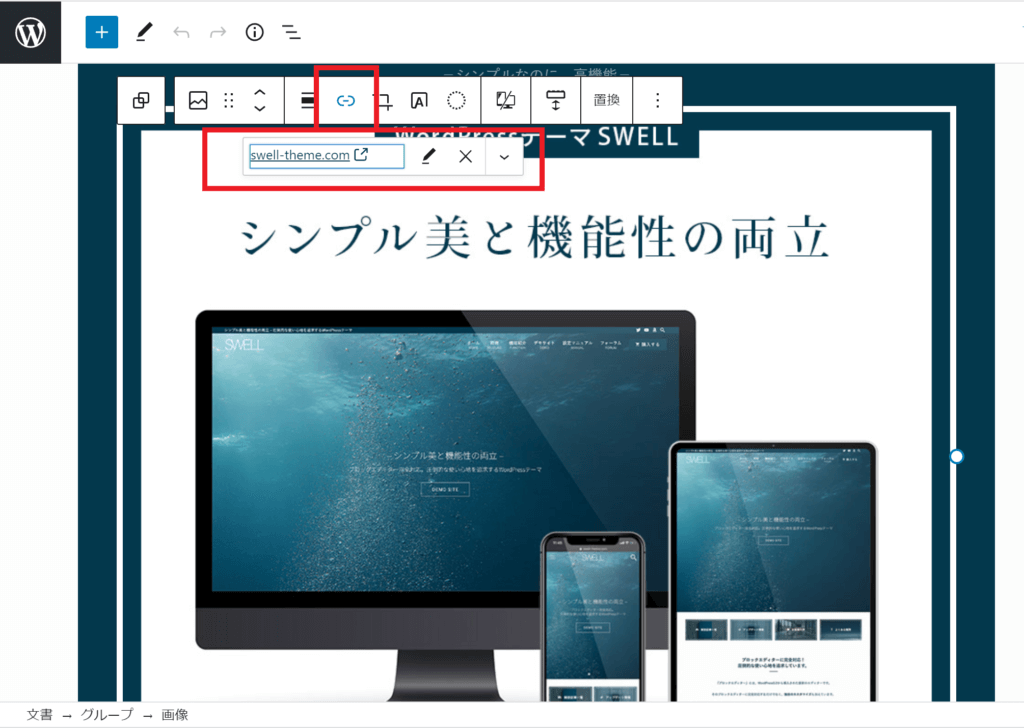
公式サイトからリンクを取得
このような流れでプロモーションバナーを完成させます。
それでは、ステップごとに詳しく説明していきます。
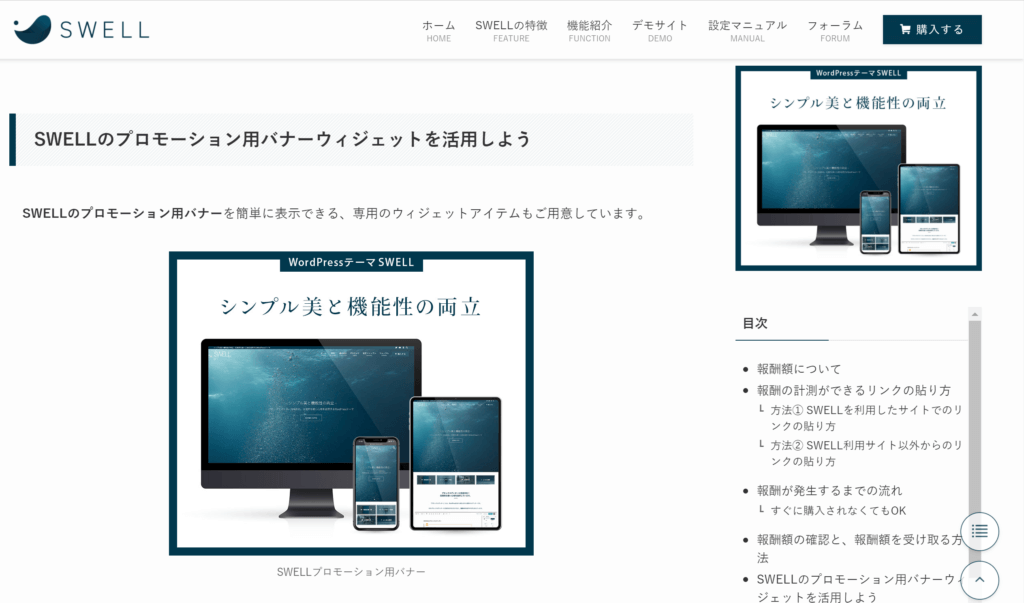
STEP1 : 画像を取得
公式サイトの記事から画像を取得します。
▼こちらの記事からどうぞ。
記事の中に、つぎのようなSWELLプロモーション用バナーがあります。
STEP2 : 文章を入力
- テキスト入力
- テキストの配置を変更
- 中央寄せ
- SWELL装飾
- フォントサイズ→S
こちらも同じように、赤枠の文章を入力。
- テキスト入力
- テキストの配置を変更
- 中央寄せ
- SWELL装飾
- フォントサイズ→S
STEP3 : SWELL リンクボタンの設置

STEP4 : グループ化
STEP5 : 背景色・文字色の変更
サイトで使っている背景色を調べるのに、こちらのサイトがおすすめです。
画像をコピペすると色を調べてくれます。
色の変更が完了したら、最終チェックでフォントサイズ、 テキストの配置のバランスを確認してください。
STEP6 : アフィリエイトリンクを貼る
これで完了です。
お疲れ様でした!
まとめ

SWELLプロモーションバナーのつくり方の説明でした。
これでSWELLのアフィリエイトがうまくいけば最高ですよね!
僕はAFFINGER5を前に使ってたんですけど、SWELLにしてから記事の更新ペースが2倍くらいに上がってます。
大袈裟じゃなくて、ほんとーに、ブログが感動的に書きやすい!
ブログ初心者には、最高のテーマだと思います。
SWELLを使うブロガーが増えればいいですね。
それではまた。

-シンプルなのに、高機能-
ブロックエディター完全対応のWordPressテーマ。
圧倒的な使い心地を追究し、SWELLは日々進化しています。
無料のお試し版も用意しております。